
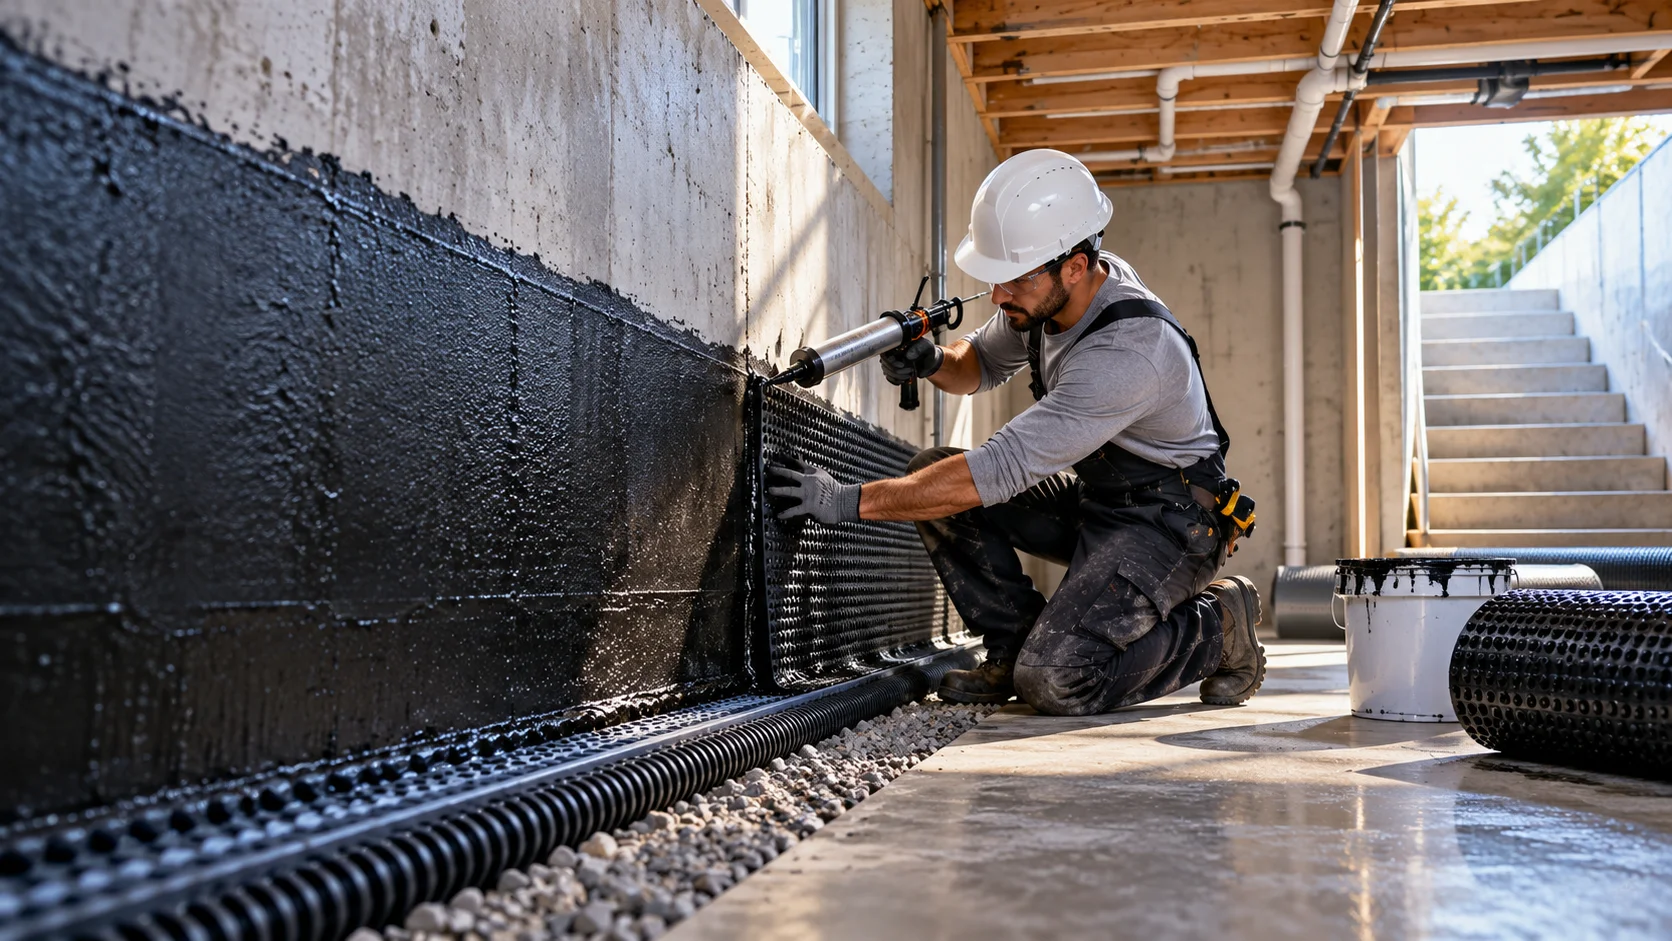
Basement Leak Repair for Cracks, Joints and Pipe Entries
We trace where water enters, then seal it at the source instead of painting over it.
Call (971) 772-3963Where a basement leak comes from, and why it keeps coming back
A leak that shows up as a dark streak below a window, a wet patch at one corner of the floor or a drip where a pipe enters the wall is telling you exactly where water is getting in. The mistake most homeowners make is treating the stain, not the entry point.
In Portland, the cause starts outside. Rain from October to May saturates clay and silt that cannot drain fast, so the ground around a basement stays full of water for months. That water pushes against the wall. Wherever the concrete has a weak point, it finds it: a shrinkage crack, a cold joint between pours, a form-tie hole, the cove joint along the floor edge, or a pipe sleeve that was never sealed well.
Older homes add their own weak points. Block walls leak at mortar joints, and foundations poured in the postwar years often have honeycombed spots where the concrete did not fill the form. A basement leak repair goes after the specific path water has taken, so you stop paying for patches that wash out the next winter.
Portland basements show the pattern clearly. In a typical Portland house from the postwar decades, the leak is rarely in the middle of a wall. It is at a corner, beside a window well, or at the spot where a downspout used to empty. Those are the places where the wall is thinnest or the soil is wettest, and they are the first places we look.
How we handle basement leak repair, step by step
The method depends on what is leaking, but the order of work stays the same.
- Step 1: Map the leaks. We mark every wet spot, stain and efflorescence line, then check window wells, downspouts, grading and gutters outside for the cause.
- Step 2: Expose the entry point. We remove paint, loose material and any failed patching so we can see the actual crack, joint or hole.
- Step 3: Choose the material. Active leaks in cracks get polyurethane injection, which expands to fill the void and stops flowing water. Structural cracks get epoxy. Joints and tie holes get hydraulic cement or flexible sealant.
- Step 4: Inject or seal. Ports are set along the crack and material is injected until it fills the full thickness of the wall.
- Step 5: Treat the cove joint. If water enters where the wall meets the floor, we seal it or add a small drain channel to catch it.
- Step 6: Fix pipe penetrations. Sleeves and utility entries are sealed with materials made for wet concrete.
- Step 7: Test. We run water against the repair and watch it, and recheck after the next heavy rain.
Often we also fix the outside cause: a downspout dumping against the wall, soil sloping toward the foundation, or a window well with no drain. Sealing inside while water pours in outside is a repair that does not last.
We also check what you cannot see. A damp wall that looks like a leak is sometimes condensation from humid air meeting cold concrete, and sealing it does nothing. Telling the two apart saves you money, and it is part of every basement leak repair visit.
Signs you need basement leak repair
- A drip or trickle from one crack, joint or pipe entry during rain
- A damp or dark spot on the wall that grows after storms and shrinks in dry weather
- Water seeping in a line along the floor and wall joint
- White mineral crust around one specific area of the wall
- A rust stain streaking down from a crack or form tie
- Peeling paint or bubbling drywall in a single spot
- Water at a window well, window frame or sill plate
- Earlier patches or hydraulic cement that has cracked or washed out
What affects the cost of a basement leak repair
Leak repair is the least expensive way to fix a wet basement, but it still depends on the situation. These are the main factors:
- Number of leak points: One crack is a small job. A dozen leak points along three walls is a bigger one.
- Crack length and width: Longer and wider cracks need more material and more injection ports.
- Access: Finished walls, shelving and stored items take time to move or remove.
- Wall type: Poured concrete, block and old stone each need different materials.
- Cause outside the wall: Grading or drainage fixes add to the work if they are part of the problem.
For exact pricing on your basement, call (971) 772-3963.
When basement waterproofing is the better fit
Leak repair works when water enters at a handful of specific points and the rest of the basement stays dry. It stops working as a plan when leaks keep appearing in new places, when water seeps along the whole floor edge, or when the wall is damp from top to bottom.
That pattern points to water pressure across the whole wall, and that calls for basement waterproofing: an interior drain, wall membrane and sump that handle the water as a system. Sealing one crack under that kind of pressure just sends the water to the next weakest spot.
If you are not sure which you have, describe the pattern to us. One or two leaks that only show in heavy storms usually mean repair. Water in several places or all winter usually means drainage.
Why acting before the next rainy season matters
A small basement leak in a Portland house does not stay small. Each wet season, water moving through a crack carries away fine particles and widens the opening. A hairline crack that drips in November can be a steady flow by February.
Moisture stays in the wall long after the water stops, and that is where mold starts. Stored boxes, carpet and the bottom of framed walls soak it up. Once mold gets into drywall or insulation, those materials have to be replaced.
There is a structural angle as well. Water that reaches the footing can wash away the soil beneath it over time, and rust attacks reinforcing steel inside the wall. Repairing a single leak in September is a small job. Repairing the damage after a wet winter is not.
Basement leak repair FAQ
Can I fix a basement leak myself with hydraulic cement?
Hydraulic cement can plug a small active leak for a while, but it is brittle and often cracks as the wall moves. A properly injected crack bonds or fills the full thickness of the wall and holds up better.
How do you stop a basement crack that is actively leaking?
We inject polyurethane resin, which reacts with water and expands to fill the crack, even while water is flowing. For structural cracks that need bonding, we use epoxy once the water is controlled.
Will the leak come back after the repair?
If the repair is done at the actual entry point and outside drainage is corrected, it usually holds. A new leak can appear elsewhere if water pressure is high across the wall, which is a sign you need a drainage system.
Do I need to dig outside to fix a leak?
Not usually. Most leaks can be sealed from the inside. Exterior work is reserved for cases where the wall has widespread failure or the exterior drain is broken.
How long does a basement leak repair take?
A single crack can be done in a few hours. Several leak points or a cove joint treatment can take a day or two. We tell you the timeline once we have looked at the wall.
Could a damp basement wall be condensation, not a leak?
Yes. Warm, humid air that touches cold concrete leaves moisture on the surface, especially in summer. We check for that and for failed pipes or dryer vents before we recommend injection or sealing.
Call (971) 772-3963 and tell us where the water enters. We will come out, trace the leak and fix it at the source.
Where we do this work
Need basement leak repair?
Office hours Mon–Fri 8 AM–5 PM. Emergency calls 24/7.